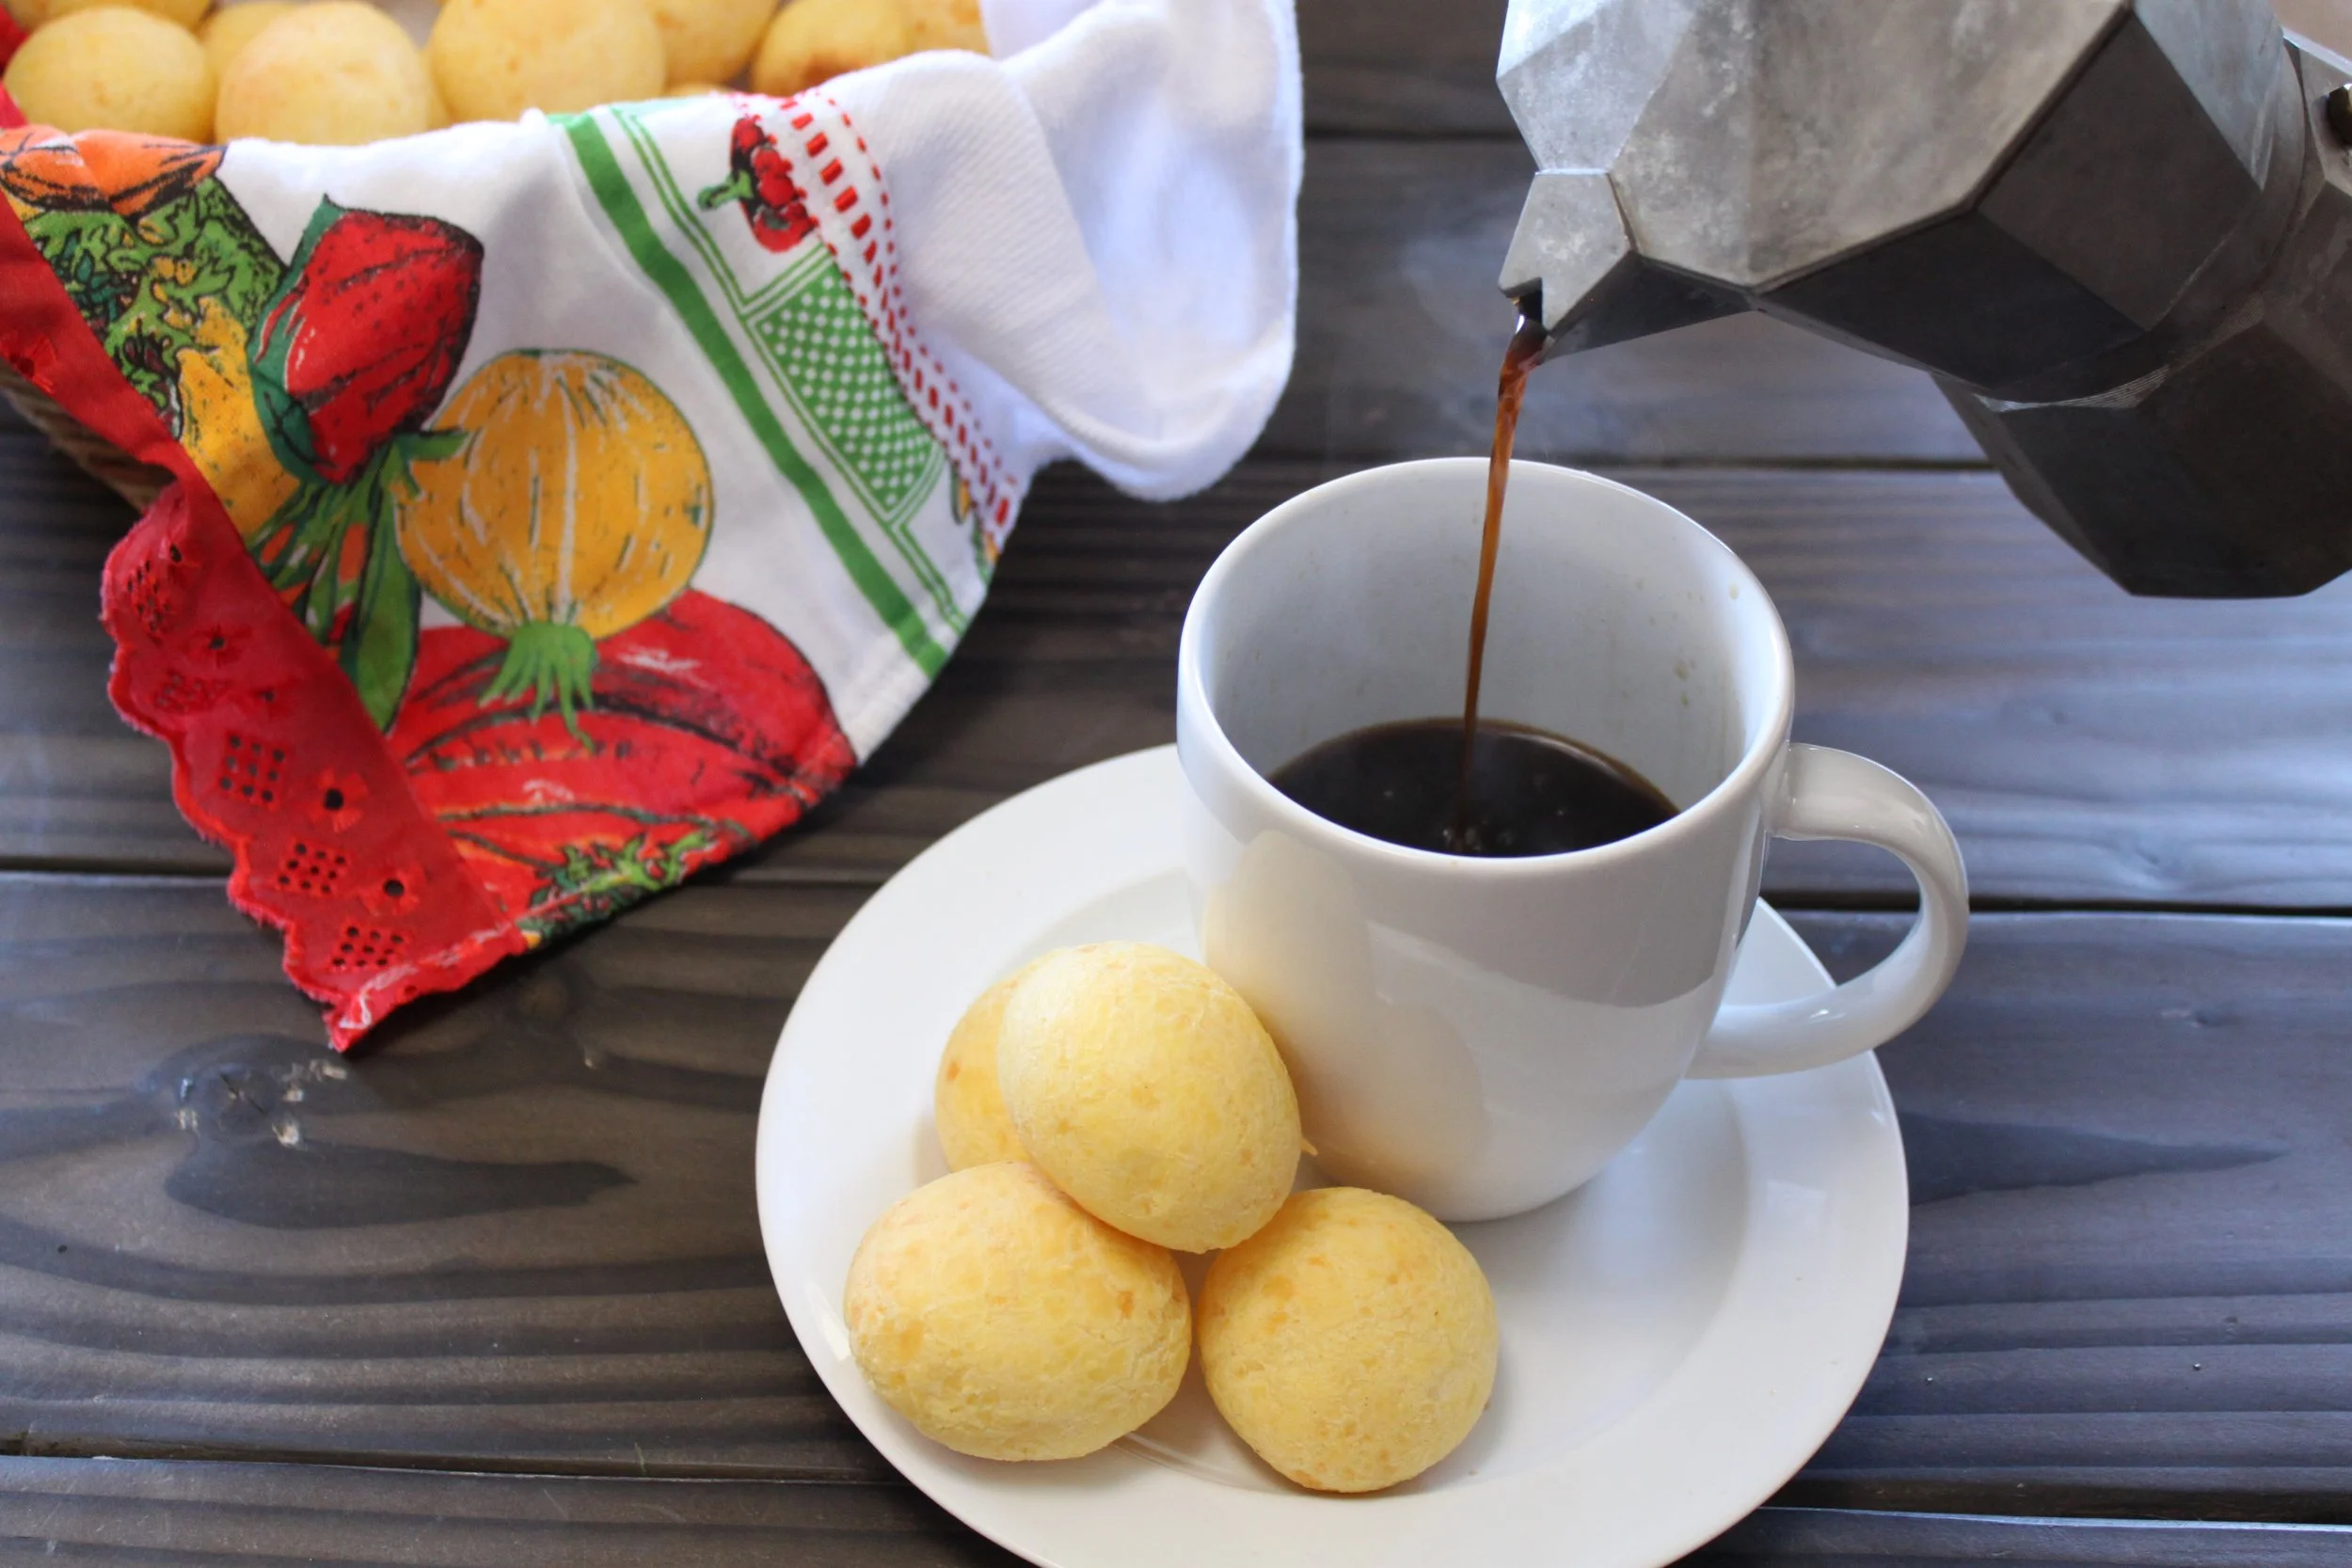
How to Make Authentic Brazilian Cheese Bread (Pão de Queijo Recipe)
Ever since I was a little girl, pão de queijo has been a quintessential part of my life. In reality, it's a part of every Brazilian's life. These little golden nuggets of warm, cheesy goodness are generally enjoyed for breakfast with a nice espresso, during afternoon tea or lanche da tarde, paired with ham, cheese, or fresh fruit. My favorite way to eat it? Hot out of the oven. I love to tear mine apart down the middle and sandwich a nice pat of butter that melts immediately or spread a bit of jam inside. You may be thinking, "Why on earth would someone put butter or jam in cheesy bread?" Well, just trust me on this one—it's how we do it, and it's darn delicious!
If you've ever stepped into a Brazilian home, there's a good chance you’ve been greeted with the irresistible scent of pão de queijo—it’s as much a part of Brazilian culture as soccer and lively gatherings. It’s not just a snack; it’s a love letter to comfort, warmth, and the shared joy of family.
For Brazilians, pão de queijo (which translates to "cheese bread") is the bread that knows no bounds. It’s a staple of every Brazilian household, passed down from one generation to the next. And now, thanks to its gluten-free nature and deliciously cheesy flavor, pão de queijo has made its way into the mainstream of the United States, delighting both those with gluten sensitivities and cheese lovers everywhere.
The Magic Behind Pão de Queijo
What’s fascinating about making pão de queijo is that four people can follow the exact same recipe, and yet, each batch will come out differently. Maybe one person’s recipe will be slightly fluffier, while another’s might have an extra cheesy bite. It’s one of those recipes that feels like it’s alive in your hands, adapting to the warmth of the day or the rhythm of your mood. No two batches are ever the same, but that’s part of the magic.
After I graduated from college, I spent six months living with my grandmother in Brazil. My goal during that time was to learn as much as I could about her cooking, so I slowly started writing down some of her recipes, and the one I started with? Pão de queijo, of course, followed by broa (a type of cornbread), canjica (a sweet corn dessert), and biscoito de queijo (a crispy, cheesy biscuit that’s just as addictive). Today, though, let’s focus on the pão de queijo.
Grandma Mariquita’s Pão de Queijo Recipe
My grandmother Mariquita has a bit of a cranky streak, so I’ll always remember making her recipes while she questioned my cooking abilities every step of the way. It was endearing, of course, and something I’ll always laugh about and cherish when I think back on my time living with her. And that warm, cheesy aroma that fills the house when making pão de queijo? It’s unforgettable. Here’s her recipe for you to try:
Ingredients:
3/4 cup milk
3/4 cup water
1/2 cup oil (vegetable or canola works fine)
1 tablespoons salt
4 cups tapioca starch (also known as polvilho doce)
4-5 eggs (room temperature)
2-3 cups of cheese (traditionally, we use a cheese similar to cotija, but you can substitute it with parmesan, pecorino, or any other hard, grated cheese)
Instructions:
Preheat your oven to 375°F (190°C).
In a saucepan, bring the milk, water, oil, and salt to a boil. Stir constantly to avoid the mixture from splattering or boiling over.
Once it’s boiling, remove from the heat and carefully pour the hot mixture over the 4 cups of tapioca starch in a large bowl. Stir everything together well with a wooden spoon until it’s fully combined. Be careful not to burn yourself! Let the mixture cool enough so that you can comfortably knead it with your hands (you don’t want it scalding hot). If you prefer, you can use a mixer to knead it.
Now, it’s time for the eggs! Add them one at a time, kneading the dough after each addition. This step is crucial, as the eggs help to bind the dough together. After all the eggs have been added, mix in the cheese and knead until it’s fully incorporated. The dough should feel cohesive and smooth—this is when you know it’s ready to bake.
Grease your hands to prevent the dough from sticking, and then roll it into small balls of roughly equal size. Place them evenly spaced apart on a greased baking sheet.
Bake for 25-30 minutes at 375°F, or until golden brown and slightly puffed. The exact baking time may vary depending on your oven, so keep an eye on them! If you’d like to store them for later, you can form the dough balls and place them on a baking sheet to freeze. Once they’re frozen solid, transfer them to a Ziploc bag for storage. When you’re ready to bake, just pop them in the oven from frozen—no need to thaw.
Making pão de queijo isn’t just about the recipe; it’s about creating memories and connecting with your roots. Every time I roll the dough into balls, it takes me back to my grandmother’s kitchen in Brazil, where we’d sit together, laughing and bickering as she questioned my every move while we kneaded the dough. Those moments, full of her playful critiques, are memories I’ll always cherish.
The beauty of pão de queijo is in its simplicity and versatility—it’s a dish that connects people, no matter where they are in the world. Whether you're in Brazil, the United States, or somewhere in between, there's always room for a hot, cheesy bite of pão de queijo. So, go ahead and try this recipe—maybe it’ll become your family's new favorite treat, too.
Enjoy! 💛
My grandma Mariquita and I circa 1993.
My mom tells me I used to spend weeks at a time with my grandma out on her farm in Brazil.
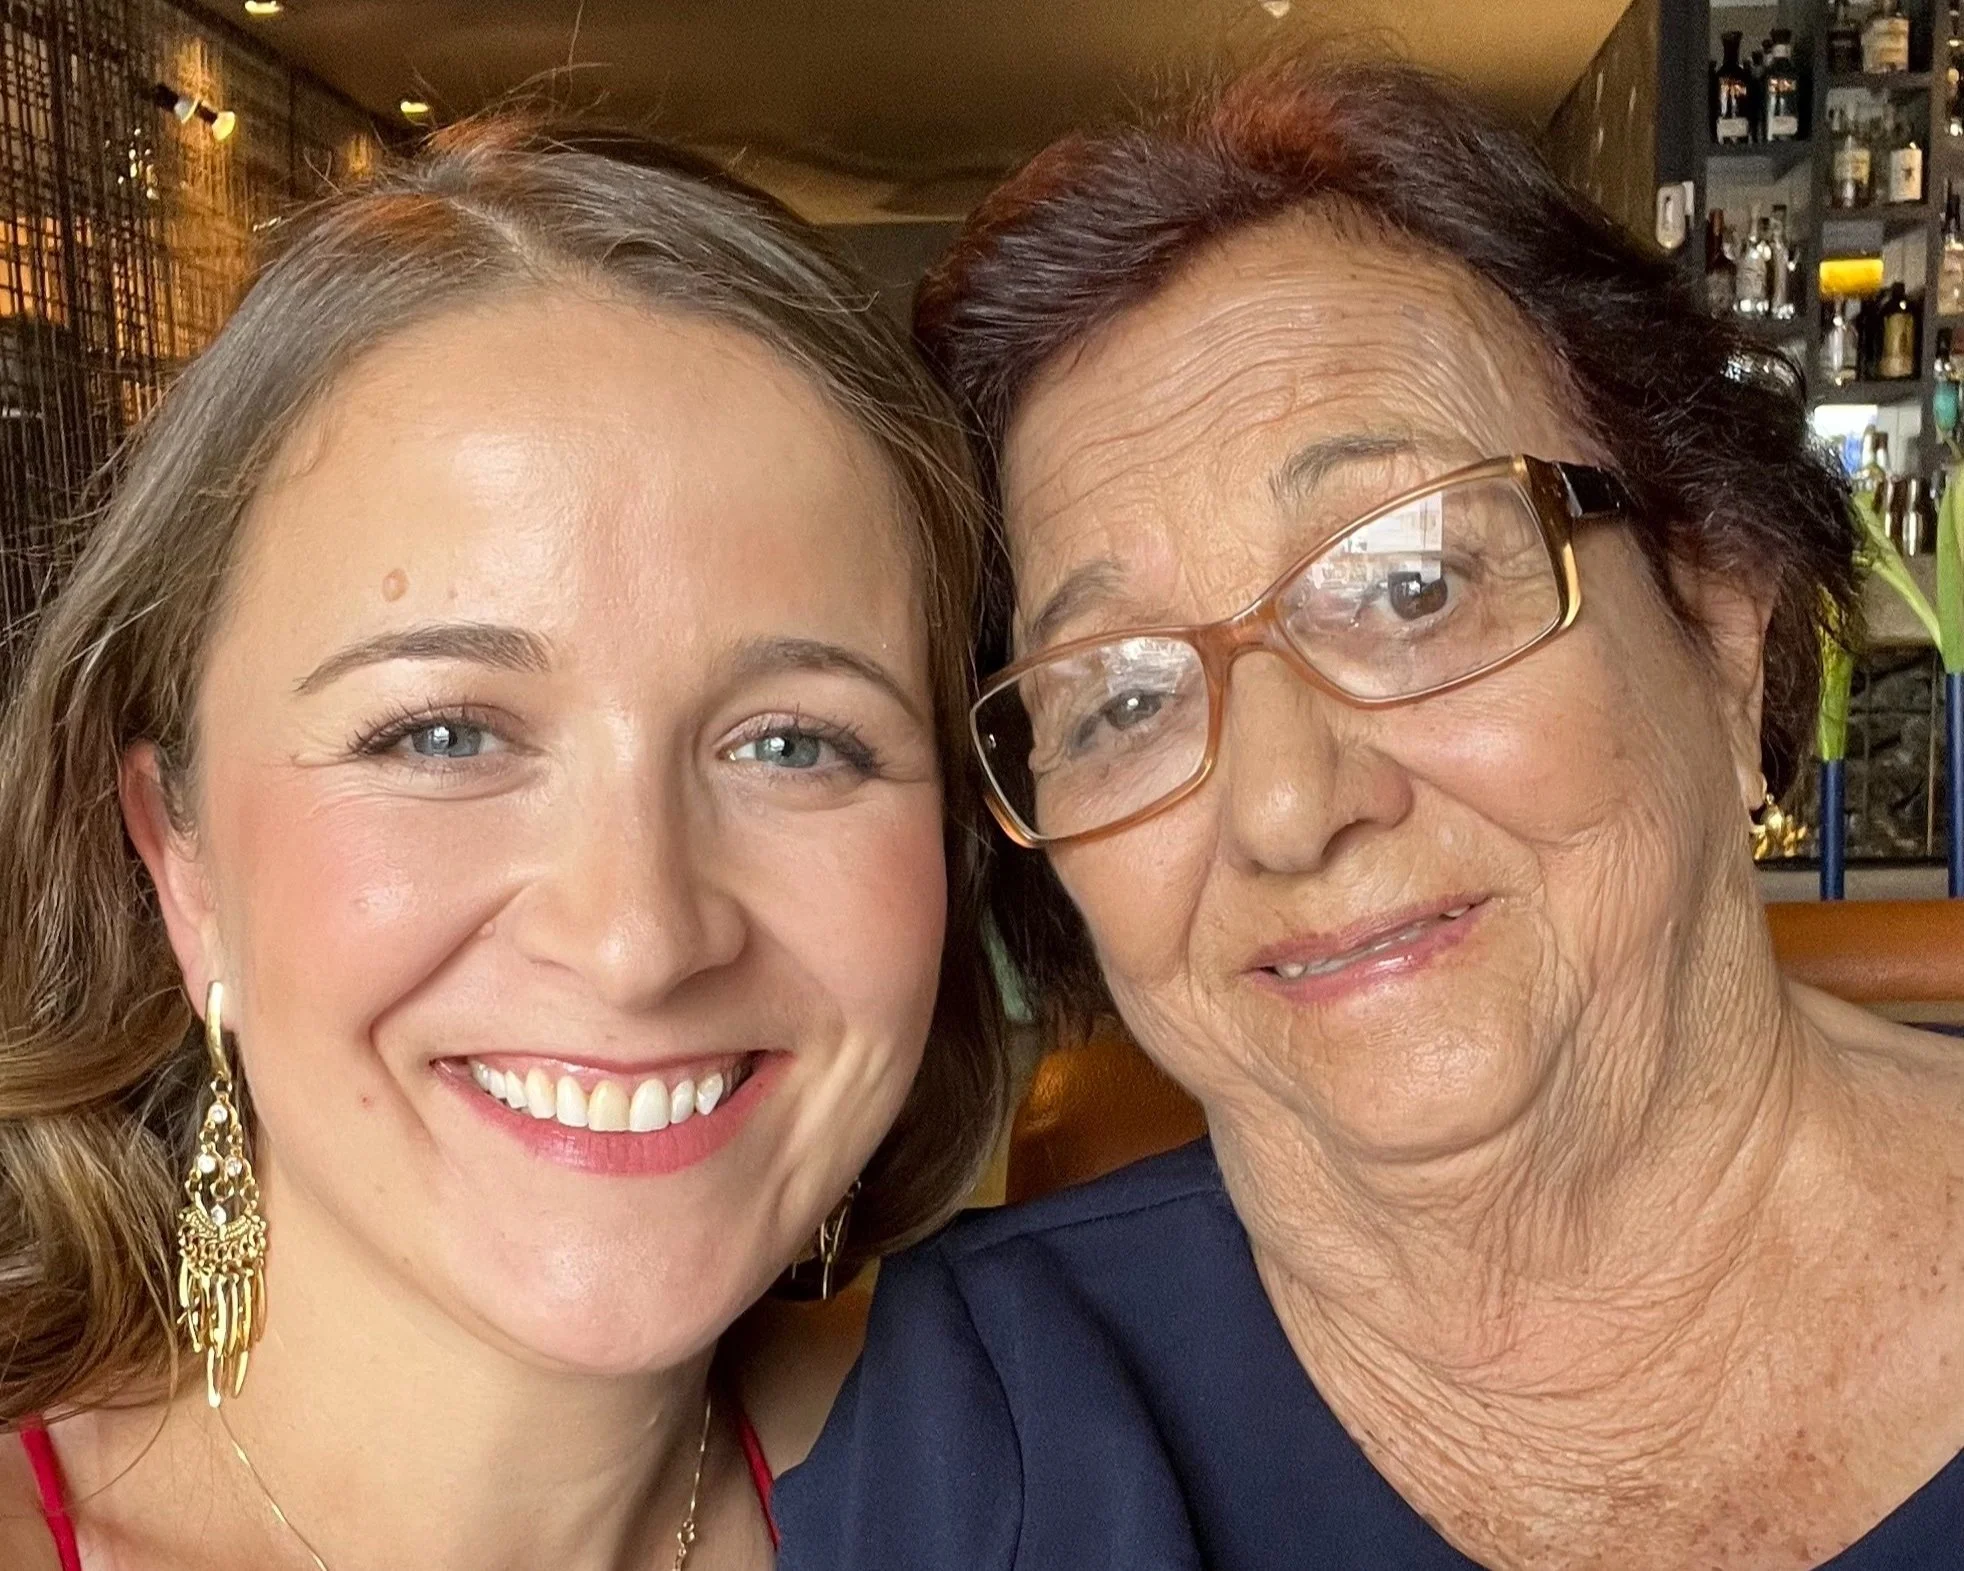
Grandma Mariquita and I in 2023.
This is us at my cousin’s wedding in Brazil in 2023. We all like to joke that we have a little bit of Marquita (cranky old lady) in all of us. I wouldn’t trade her for the world.


